Home / Mounting Heavy Open Shelves
Mounting Heavy Open Shelves
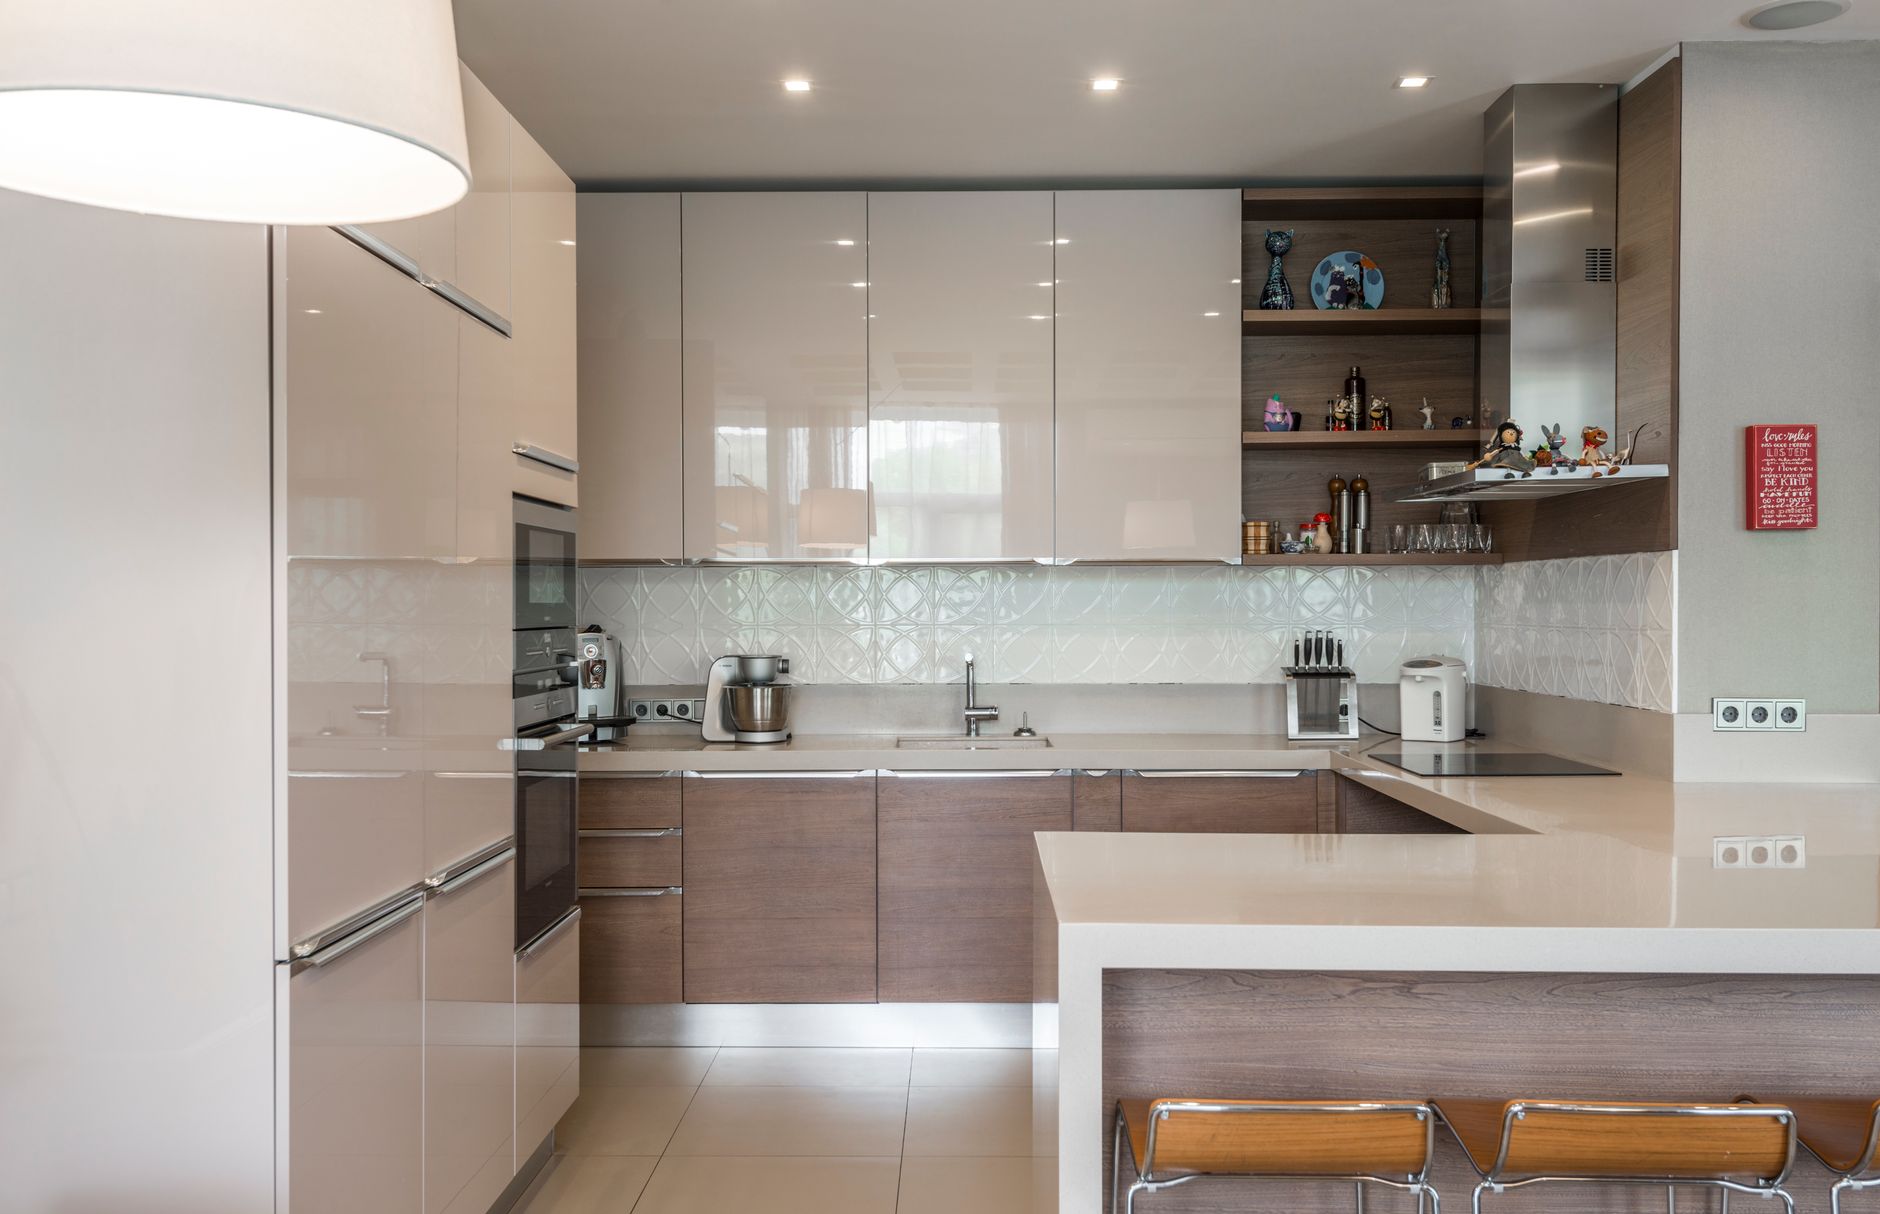
A shelf that holds a week's worth of dishes can carry well over a hundred pounds when loaded, and it does so from a few screws in a wall. When open shelves fail, they rarely fail gently. This page walks through the structure behind a safe installation: finding the framing, choosing brackets, deciding when to add blocking and how to hide the hardware so the shelf appears to float.
Find the studs first
Wall studs are the vertical framing members behind the drywall, typically spaced sixteen inches apart from center to center, though older or unusual construction can differ. A stud finder gives a starting point, but it can be fooled by pipes or wiring. Confirm by drilling a tiny pilot hole or tapping, and use a magnet to locate screws in the drywall that were driven into studs.
Mark each stud's edges and centers with a pencil. The goal is to place at least two fasteners into each bracket, both going into solid wood. A screw that goes only through drywall holds almost nothing, and the failure usually comes from the drywall crumbling around it.
Choose the right brackets
Bracket type determines how the load transfers to the wall. A standard L-shaped bracket carries the shelf on top and is simple and strong, though it is visible. A hidden bracket, often a steel rod or plate that slides into the shelf, creates the floating look. The strength of a hidden system depends on the rod diameter, the length that enters the shelf and the thickness of the shelf board.
Important points about brackets:
- Steel is much stronger than aluminum or plastic for the same size.
- A longer arm gives more leverage on the wall, so the fasteners work harder.
- Brackets should reach at least two thirds of the shelf's depth to prevent tipping at the front edge.
- Heavy-duty brackets often have a diagonal brace that triangulates the load.
The manufacturer's rating assumes a specific installation, such as screws into studs at a stated spacing. Check the conditions rather than relying on the headline number.
Understanding the leverage on the wall
A shelf creates a twisting force on the wall. The weight pushes down at the front, and the top screws are pulled outward while the bottom of the bracket presses inward. The deeper the shelf, the greater the leverage. A ten-inch-deep shelf with a heavy load puts much more stress on the top screws than a six-inch one with the same weight.
That is why long screws matter. A screw that penetrates at least one and a half inches into the stud has far better holding power than a short one, and the screw diameter matters as well. Using the screws supplied with a bracket is not always best, since they may be sized for lighter loads.
Add blocking when studs do not line up
Studs rarely fall exactly where a design wants a bracket. Blocking solves the problem. It is a horizontal piece of lumber, usually a two-by-four or two-by-six, installed between studs behind the drywall, giving a continuous nailing surface at the shelf height.
During a remodel with open walls, adding blocking is easy and cheap, so it should be planned before the drywall goes up. Mark the shelf heights on the framing plan, and install blocking behind every location, with extra at heights that might change later. In a finished wall, a small section of drywall can be cut out, the block installed and the wall patched, which is more work but still worthwhile for a heavy shelf run.
Use a continuous support or cleat
A French cleat or a ledger board spreads the load along the whole length of the wall. A cleat is a strip with a beveled edge fastened into studs, and the shelf has a mating cleat that hooks over it. Alternatively, a simple ledger board, a straight strip screwed to the wall under the shelf, supports the board from beneath, and a front trim piece hides it. Because the fasteners hit every stud along the wall, the load is shared widely, which suits very long or very heavy shelves.
Selecting the shelf board
Thin, soft boards sag. Solid hardwood at least an inch and a half thick resists bending, and a laminated or box-style shelf, built as a hollow frame with a top and bottom skin, is strong while appearing thick. Plywood with a hardwood edge band is stable and straight. Span between supports is the main limiter, and a board that looks fine empty can curve noticeably under a load. Closer brackets reduce the span and the sag.
Plan for loading and testing
Before loading with dishes, test the shelf. Apply firm downward pressure at the front edge and look for movement in the bracket or the wall. Load it gradually, checking after each batch. A shelf that visibly sags, creaks or pulls away from the wall should be corrected before use. Heavier items, such as stacks of plates, cast iron or stone bowls, should sit on the lowest shelf, close to the wall supports.
Hiding the hardware
A floating look comes from concealing steel rods or plates in the shelf. The shelf is drilled to match the rods, and it slides on after the rods are fixed to studs. Accurate drilling is vital, as even a small angle error makes the shelf crooked. A drilling jig helps. Some systems use a metal sleeve inside the board to prevent the wood from crushing around the rod.
Check the fit before adding glue or fasteners, and use a level on the rods before sliding on the board. When done carefully, the shelf appears to hang from the wall with no visible support, yet carries its load with ease.
Checking what else lives in the wall
Before drilling, think about what else sits inside the wall. Kitchen walls often hold electrical cable running to outlets, water lines near the sink and sometimes gas piping. Outlets and switches usually indicate a cable run directly above and below them, so keep fasteners well away from those lines. A stud finder with a live wire detection mode helps, and so does looking at the framing from the other side of the wall, from a basement or attic, when that is possible.
Drill pilot holes slightly smaller than the screw shank so the thread bites, and stop as soon as the head seats. Overdriving crushes the drywall around the bracket and weakens the connection. Finish by checking each bracket with a level before the board goes on, since a small tilt grows across the length of a long shelf.
Tile and masonry walls
A tiled backsplash or a brick wall changes the method. Tile must be drilled with a carbide or diamond bit, with light pressure and a slow speed so the glaze does not chip. Brick and concrete need masonry anchors, and the anchor type should be matched to the load. Avoid drilling close to a tile edge, where cracks start. When possible, mount through the tile into framing behind it and finish with a trim washer.